How to Open Multi-Camera Sequence in Timeline in Premiere Pro
Simple tip for Editing clips inside a multi-camera sequence
Whether you’re editing a multi-camera shoot or wanting to automatically sync sound for multiple clips, multi-camera sequences are a powerfully flexible way to work in Premiere Pro. But they can seem like a black box workflow. Meaning, it appears like you can’t make changes to the individual clips once they’re inside a multi-camera sequence. They don’t behave like ordinary sequences. They even have their own icon in the Project panel.
Of course, you can flatten a multicam clip in the timeline, which leaves behind only the selected camera angle. (Typically you would want to do this at the end of an edit because it can’t be reversed.) But how can you see the clips inside the multi-camera sequence without flattening anything? You won’t find the answer on the official Adobe help page for multi-camera editing.
Use “Open in Timeline” to step inside a multi-camera sequence
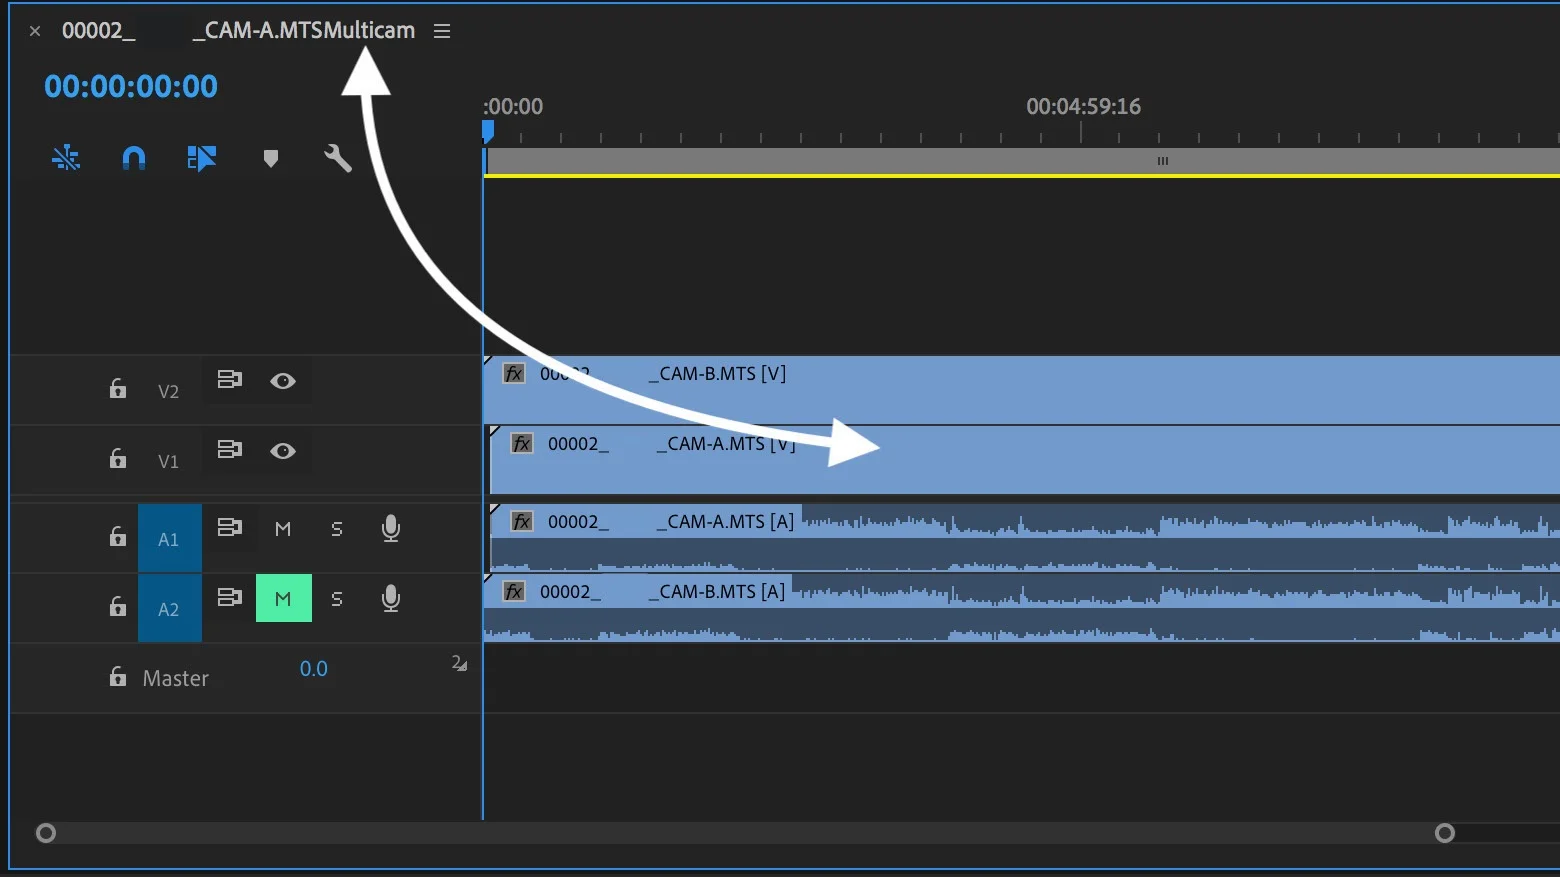
The first step is to realize that multi-camera sequences are what they say: sequences. And you can open sequences in the Timeline right? Obviously. Here’s how to do it with a multi-camera sequence:
Right click the multi-camera sequence in the Project panel.
Choose Open in Timeline.
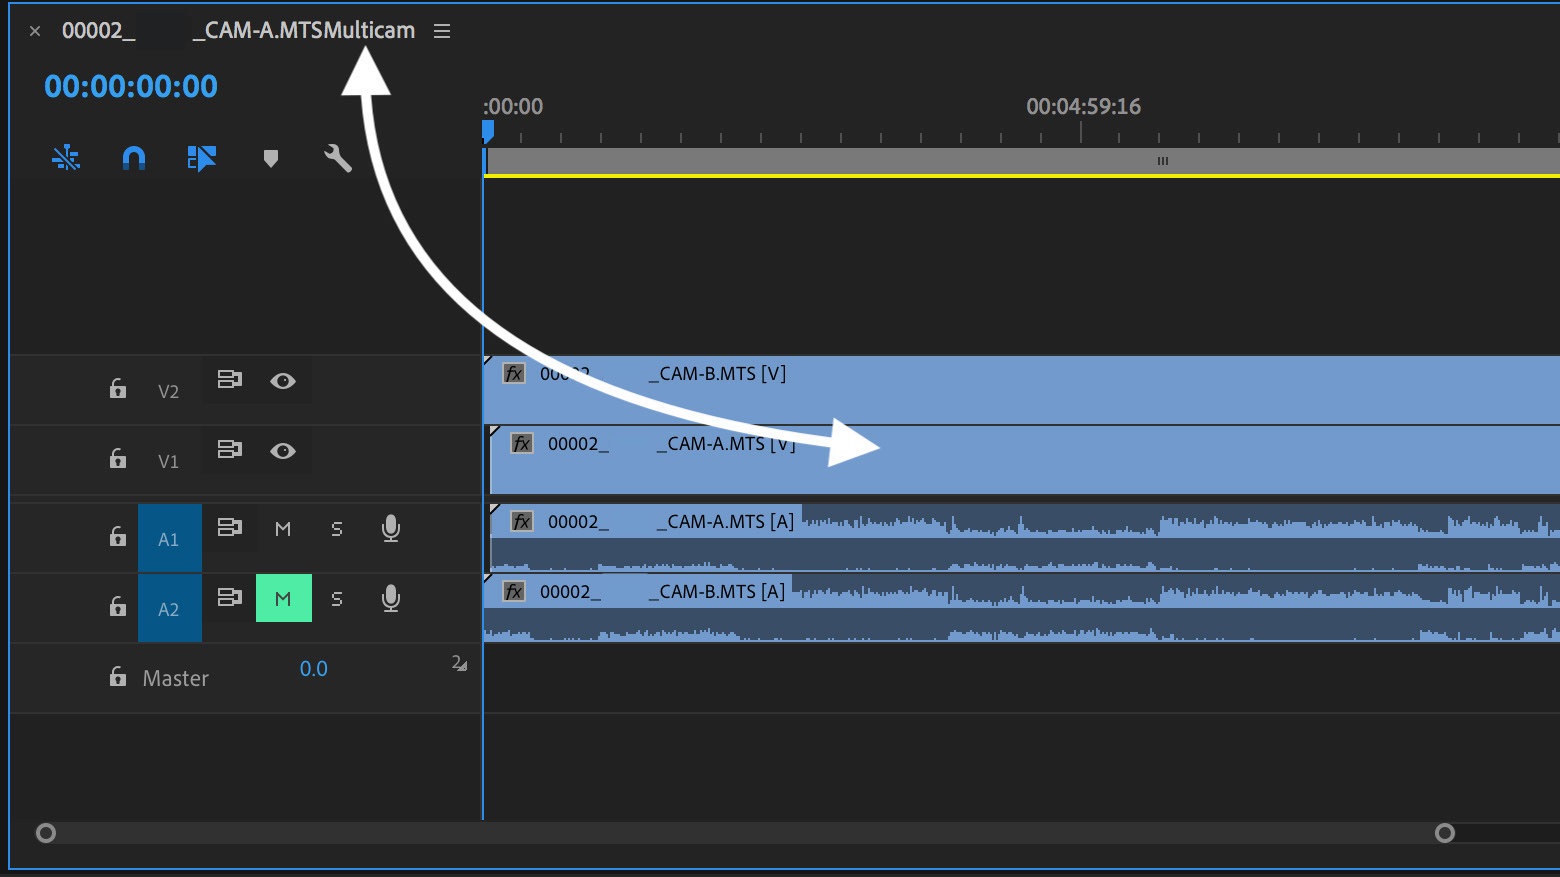
That’s it! As shown below, you can view and edit clips in your multi-camera sequence like any other sequence in Premiere Pro.
Why is this helpful? (When would you need this?)
There are a number of reasons why you might want to do this. Here are just a few that I’ve personally had for opening multi-camera sequences in a timeline:
Make an edit to a clip
Fix the sound sync
Add color or another effect to a clip
Re-link offline clips
Extract the synced clips to use in a regular sequence
Do you use multi-camera sequences in your multi-camera editing workflow? Did this tip help you? What other tips do you have for working with multi-camera sequences in Premiere Pro?


